
Pre-screening is a fundamental component of any tenant evaluation flow.
The idea is that you collect a variety of the most important self-reported data points from your applicants before bothering them with a whole bunch of more invasive reports.
These applications are much easier to evaluate than ones with credit reports, and criminal history, and eviction history, etc.
So you start by weeding out anyone clearly unqualified, and then send a more detailed application to those applicants who are most likely to succeed.
At Rent Application, we provide pre-screening functionality at no cost to you or the applicant. Here's a brief overview on how to set it up.
Please note: You should create separate forms for pre-screening and screening. The first you send to all potential applicants and is discussed in this article. The second should be more in-depth and sent to only qualified applicants.
Create a new form
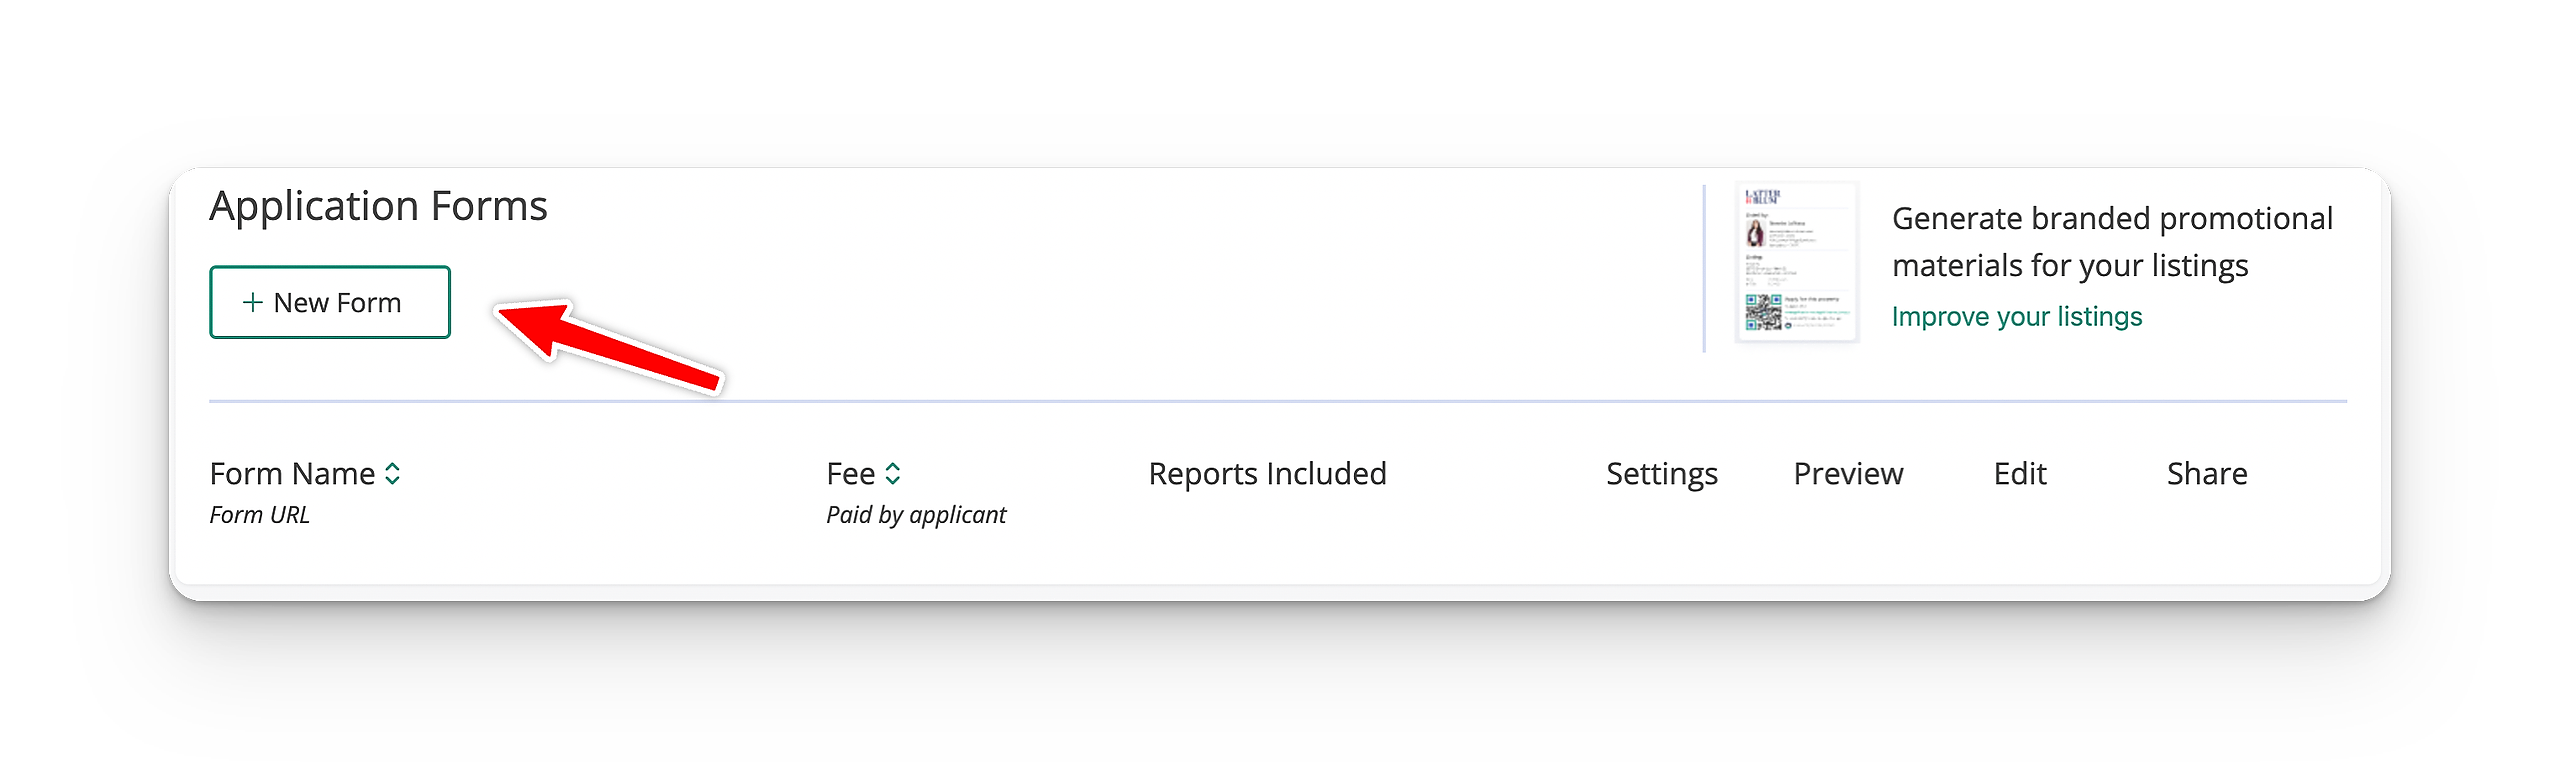
First, you want to navigate to your forms tab in your account.
Then, click the "+ New Form" button to create a new form. This is what will become your pre-screening form.
Select reports
Since this is a pre-screening application, you probably don't want to order many reports. Adding things like landlord verification of credit reports can add significantly to the time it takes to get an application back from a potential applicant. You want to save these reports for qualified candidates.
To disable reports, simply uncheck all of the checkboxes on the next page.
You might want to consider adding an identity verification report just to make sure that the applicant is who they say they are.

Edit your link
On the next page, you can customize the name of your form (visible only to you), and the link where applicants can find the form.

Customize your form
By default, all forms request industry-standard information from your applicants. Things like their name, the address of the property they're applying for, information about their rental history, etc.
However, this information might be a little dense for a pre-screening application.
To tailor your form to your needs, first click the edit button on the form.

Next, edit as you please! Almost all fields in the form can be edited or deleted, and you can click the "add field" button to require any information that we didn't think to include.

To keep it nice and simple we recommend only asking for:
- Income
- Rental history
- Name / phone number / date of birth
- Current employment
- Do they smoke
- Do they have pets
Once you're done, just click the "Save Form" button.
Send out your form!
Now that you have your pre-screening application all setup, all you have to do is begin sending it to applicants.
You can even setup an automation with something like Zapier or Integromat to automatically send the link to anyone that inquires via email about a property.
Now that you know what to do, feel free to head over to your dashboard to get started.